by Dr. Tanya Peres and Jessica K. (field school student)
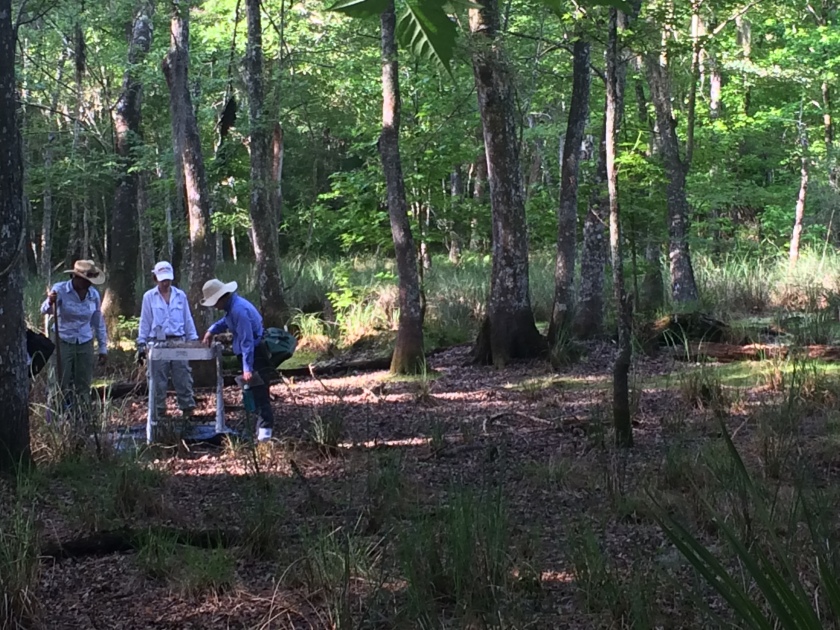
Our first week in the field is spent learning survey methods. Survey work is an important, though labor-intensive, part of archaeology. It allows us to explore a site that has never before been excavated to learn more about how big and deep the deposits are. Our preferred survey method is shovel testing. Why do we choose to shovel test vs. other survey methods? Shovel tests are not too big, which means fewer disturbances to any potential intact deposits, yet they are big enough to give us a good snapshot into what lies beneath the surface.
Learning to dig square holes and screen the dirt for artifacts seems like it would be an easy task, but there are many steps to follow and data to record to ensure the accuracy of our work and that will we be able to reconstruct what we did at a later date in the lab. Digging shovel tests is part skill, part art form, part determination, and part brute force. Yes, any non-archaeologist can dig a round hole in the ground, but we do it in a very systematic manner. We dig some, screen the dirt, look for artifacts or other evidence of previous human occupation, and measure the depth if we find any. We have a minimum depth we must meet, which varies by site.
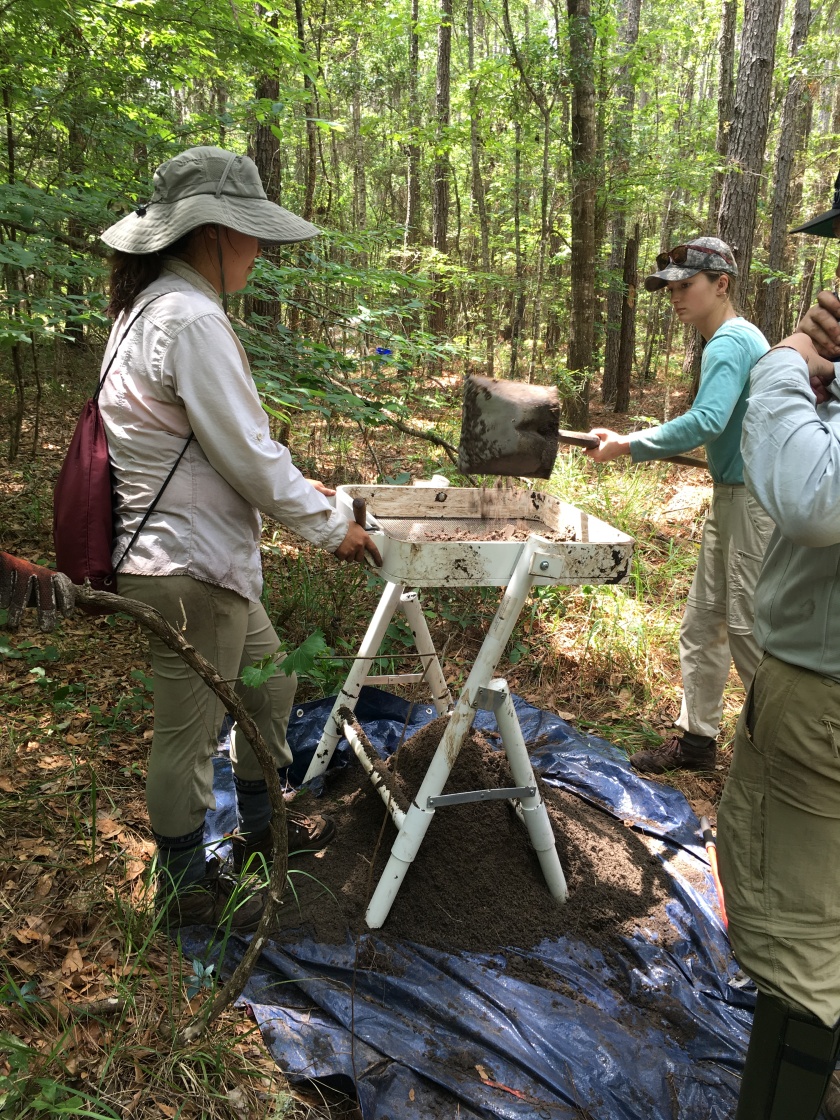
We screen all dirt from the shovel tests for artifacts. This tells us about the types of activities that took place at the site and gives us an idea of that we can expect in our larger excavation units.
At our current site location, all of our shovel tests are dug to a depth of 100 cm (about 3 ¼ feet) below surface or until we hit water.
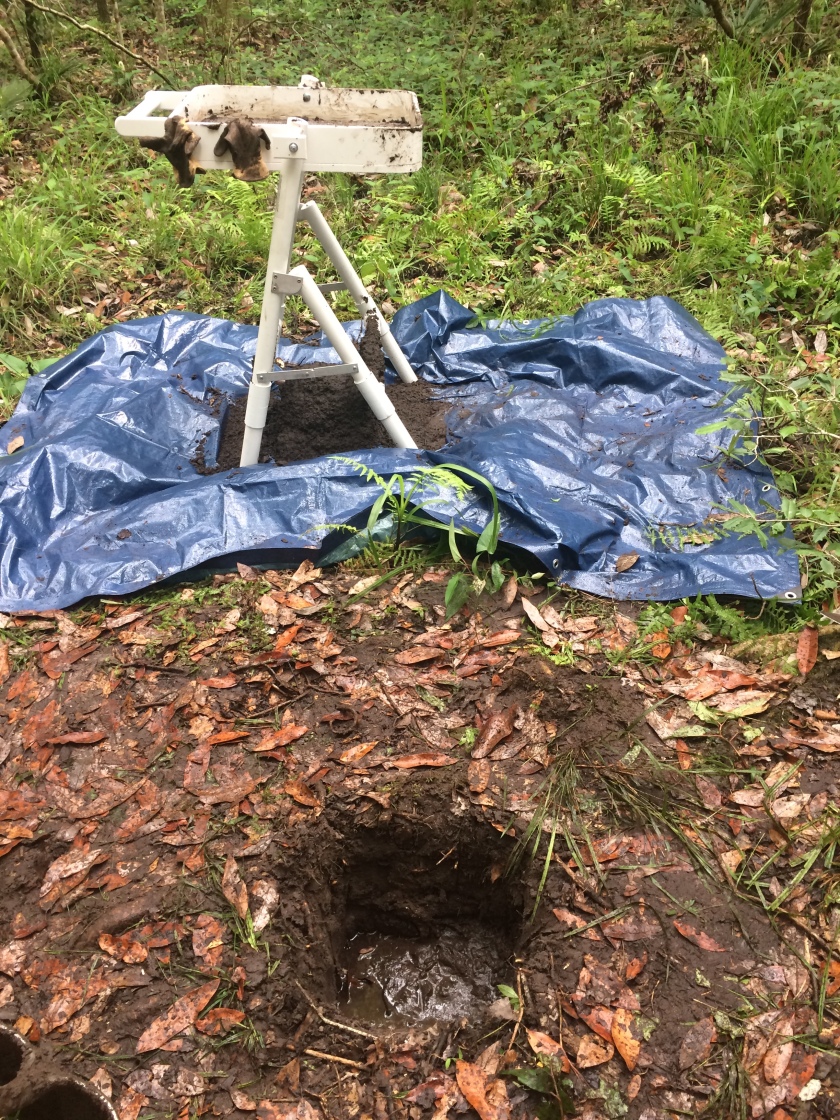
The students hit water at 29 cm below surface in this shovel test.
We analyze the soils as we dig, noting the texture, major ingredients of the soil (sand, silt, clay), and the color. All of that information is recorded and at what depth any changes occurred. We space our shovel tests at regular intervals, typically 10 m (~33 ft.), 20 m (~66 ft.), or even 50 m (~164 ft.) apart. We place in them in straight lines parallel to one another, called transects.
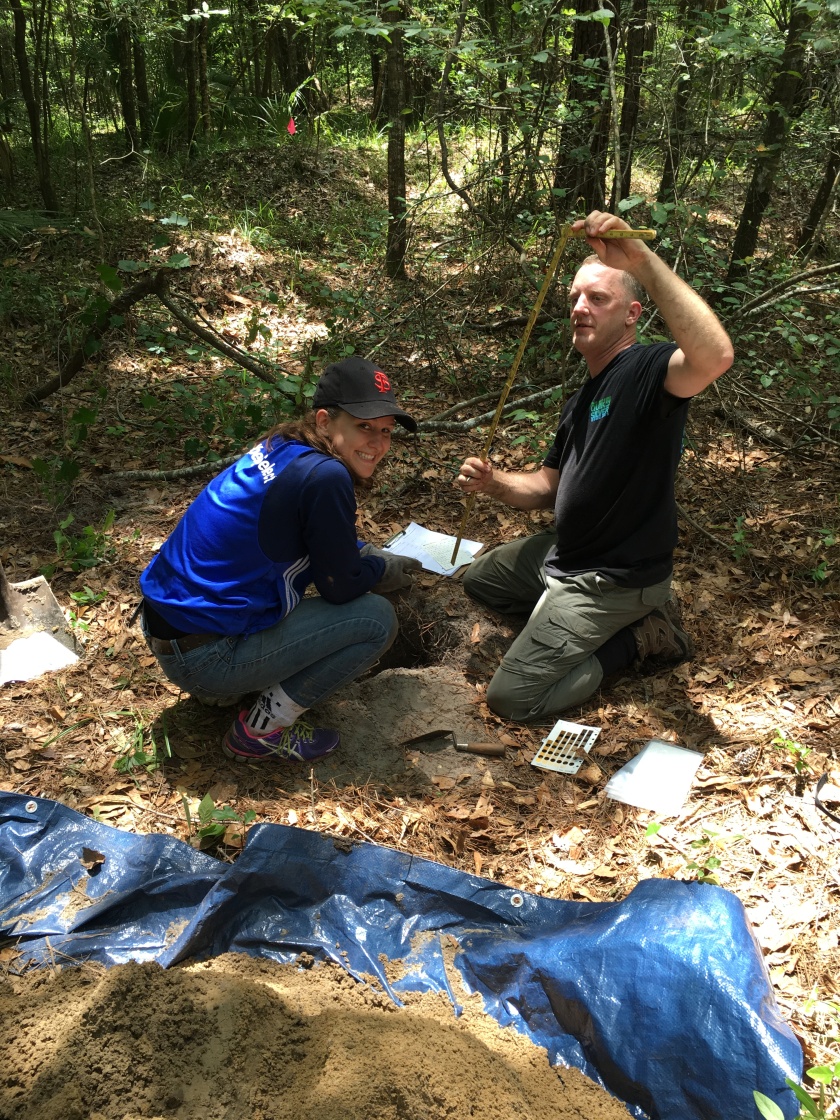
Students measure the depth of the shovel test and record soil colors using a Munsell Soil Color Chart.
To keep track of where the shovel tests have been dug in relation to the landscape and one another, we draw field sketch maps (which always have important pieces of information like a North arrow, scale, key, etc.). We flag each shovel test with locational and inventory information so that we can come back and use a sub-meter GPS (read high degree of accuracy in locating them on the ground) to plot them in digitally.
Since it was our first day of survey, we set as a goal – a total 14 shovel tests excavated by day’s end. The students were so excited about their first day in the field, they exceeded expectations and completed 22 shovel tests! Many of the shovel tests have been “negative” or did not turn up any artifacts of soils that looked like they were disturbed or created by people. This is one of those times when the absence of data is important data. These are all areas on the edges of the site, so basically we now know where the site deposits end. Tomorrow we will finish the shovel tests on the western edge of the site, then proceed to interior locations. Check back on our progress throughout the week – we can’t wait to dig more square holes!